*sauf certains pays d’Amérique, offre réservée aux particuliers (voir conditions)
Menu
leGPSBip calibration procedure
Le vario instantané nécéssite une calibration des capteurs par l’utilisateur pour des performances optimales, avec l’aide d’un objet pour obtenir l’orientation nécéssaire. Cela peut etre un stylo, livre, gomme ou tout autre objet non glissant.
La procédure de calibration se lance automatiquement après la mise à jour du logiciel vers la V3.x.
Attention: effectuer la procédure de calibration sur une surface parfaitement stable, dans un environement calme (pas de vibration, musique ou autre mouvement…).
PROCÉDURE
Une fois la mise à jour effectuée, suivez les étapes suivantes :
ETAPE 1
Allumer l’appareil et attendre qu’il annonce “procédure de calibration”
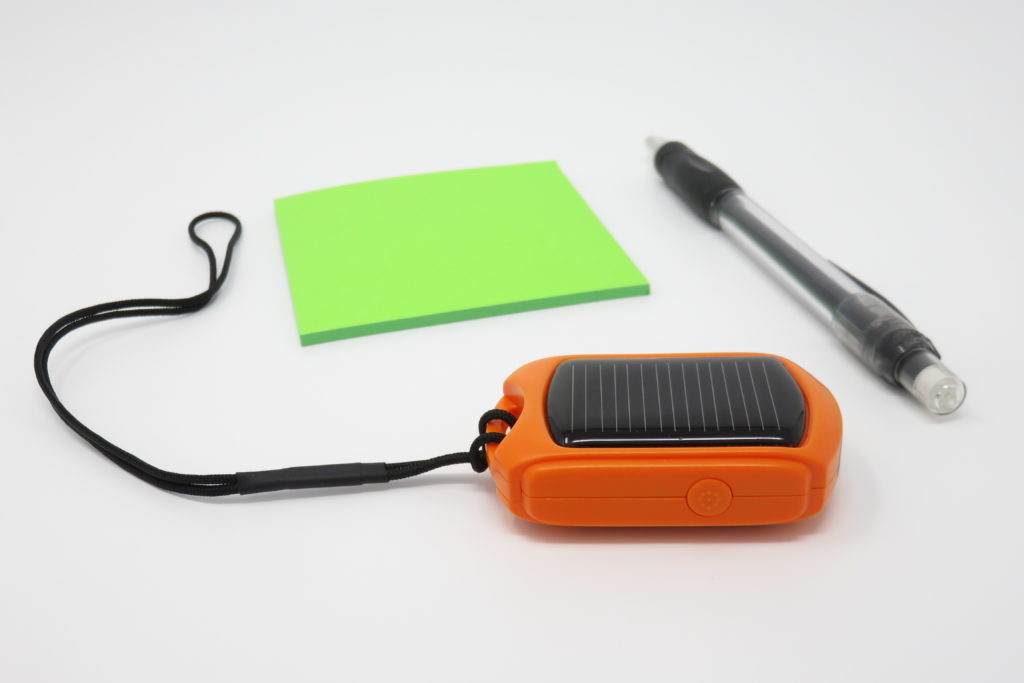
Poser l’appareil à l’horizontal, cellule solaire vers le haut.
Ne pas bouger, et attendre la validation.
ETAPE 2
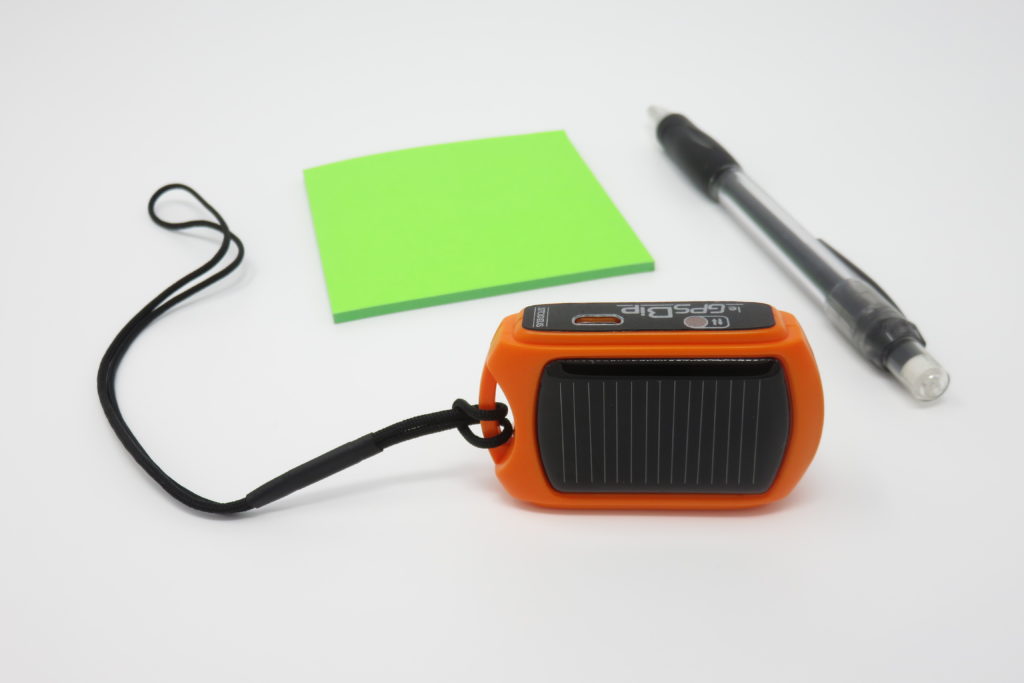
Changer la position : Placez-le avec le port USB vers le haut (Attention : ne pas appuyer sur le bouton).
Ne pas bouger, et attendre la validation.
ETAPE 3
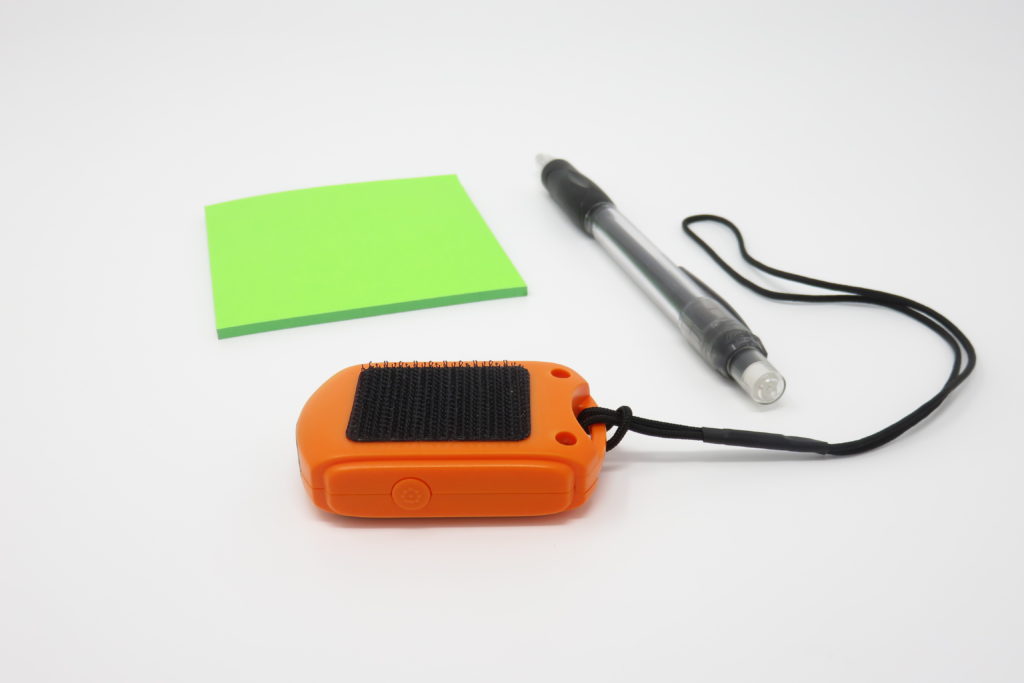
Changer la position : Placez-le avec le velcro vers le haut.
Ne pas bouger, et attendre la validation.
ETAPE 4
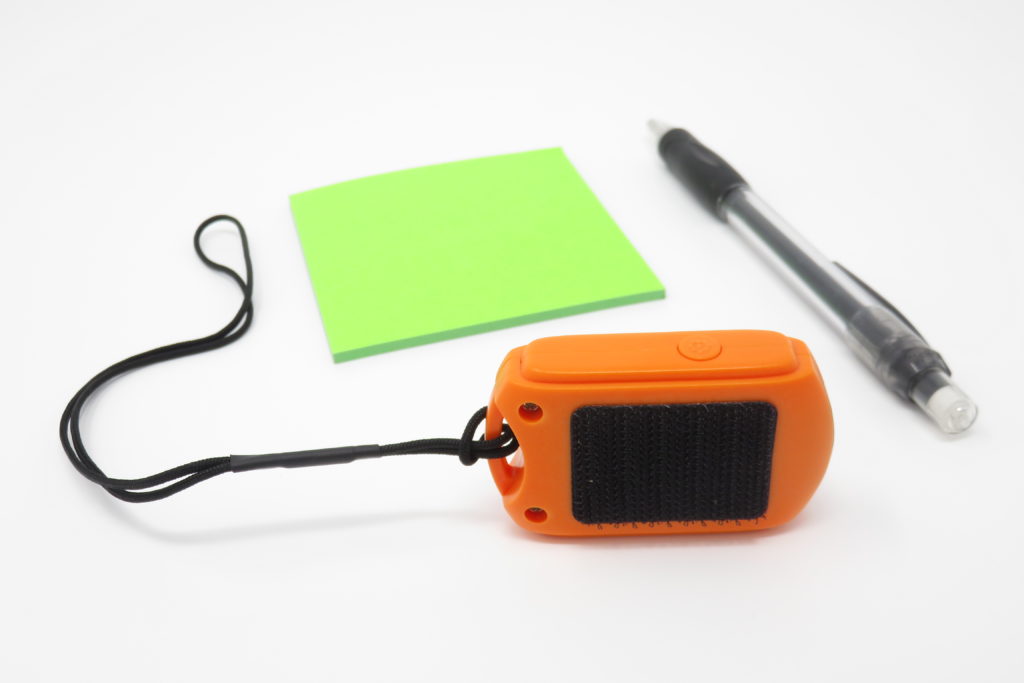
Changer la position : Placez-le avec le bouton vers le haut.
Ne pas bouger, et attendre la validation.
ETAPE 5
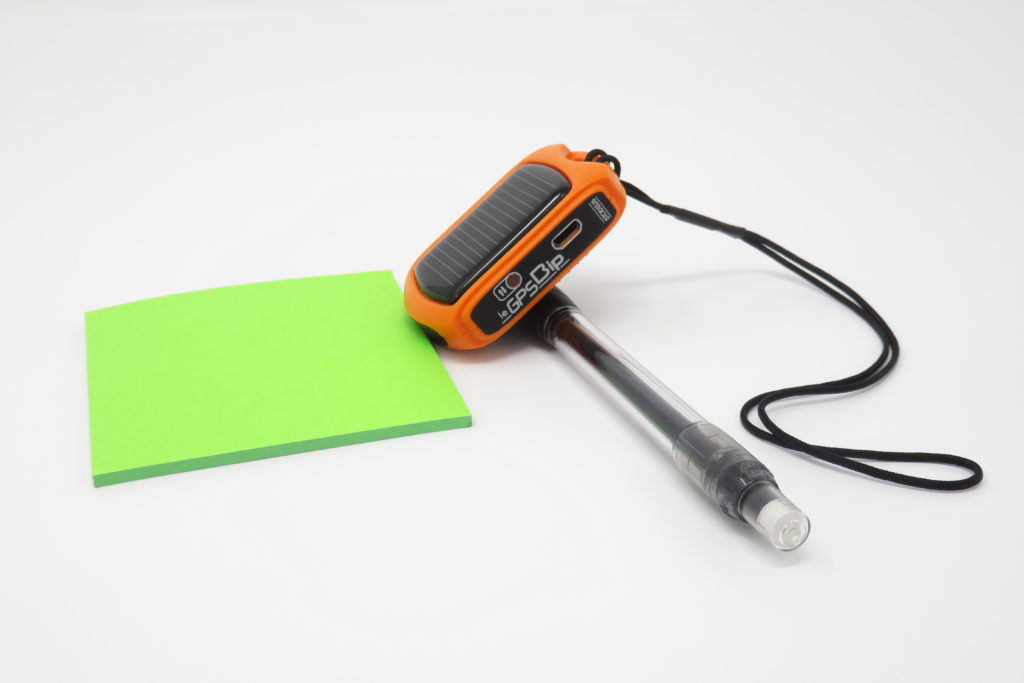
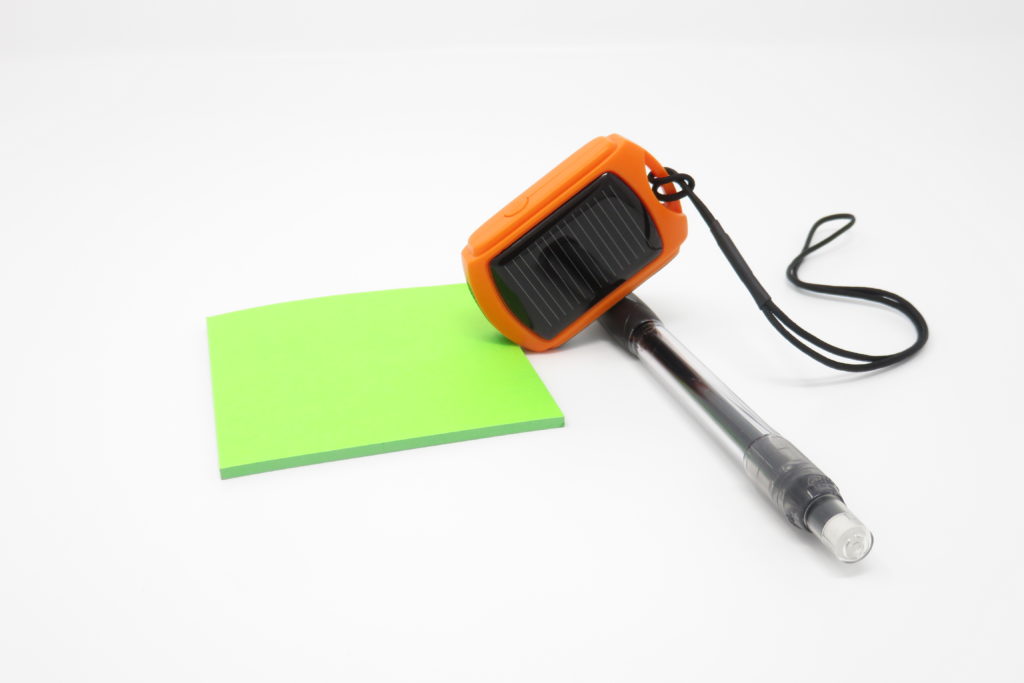
En utilisant un objet (comme un stylo, ou une gomme), placez-le à 45° avec la cellule solaire et la poignée vers le haut (nous recommandons d’utiliser un second objet afin d’éviter qu’il ne glisse).
Ne pas bouger, et attendre la validation.
ETAPE 6
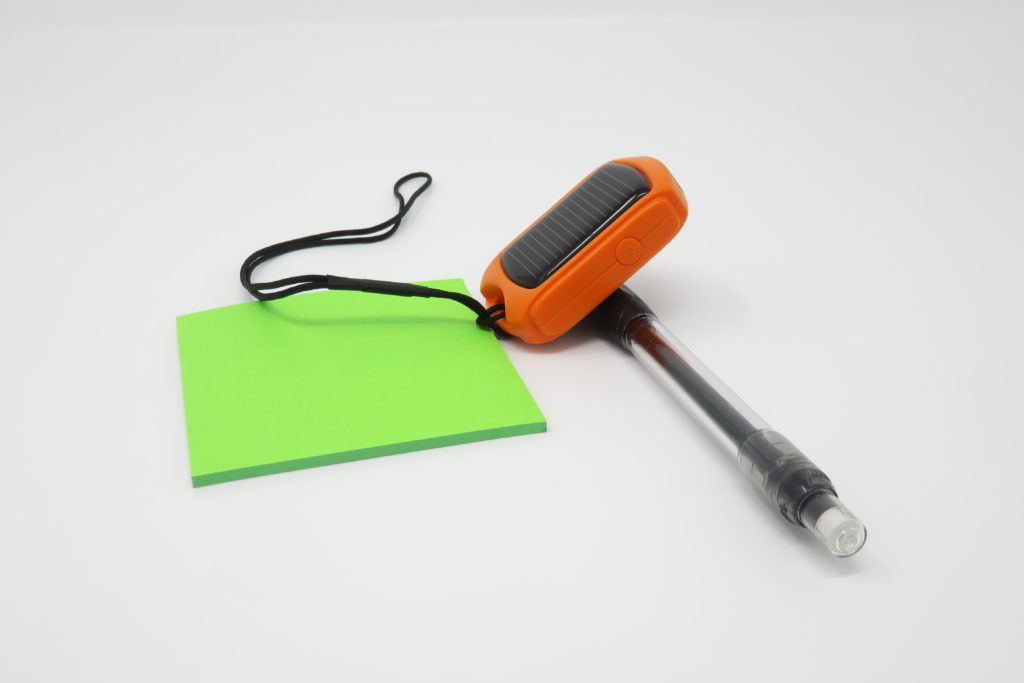
Changer la position : Placez-le à 45° avec la cellule solaire et la grille vers le haut.
Ne pas bouger, et attendre la validation.
ETAPE 7
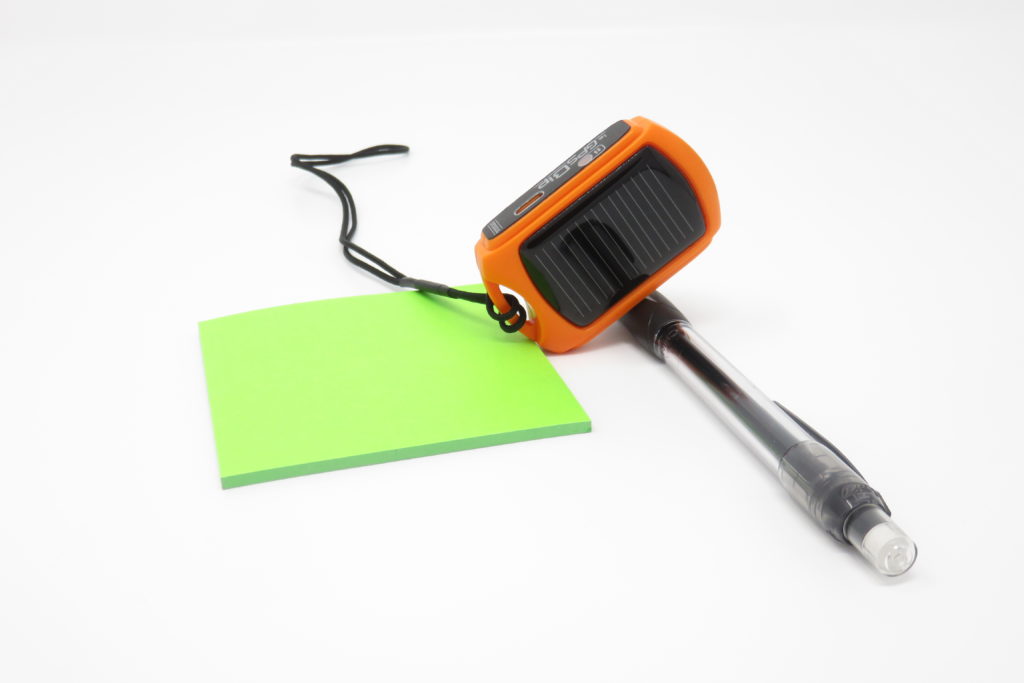
Changer la position : Placez-le à 45° avec le port USB et la grille vers le haut.
Ne pas bouger, et attendre la validation.
ETAPE 8
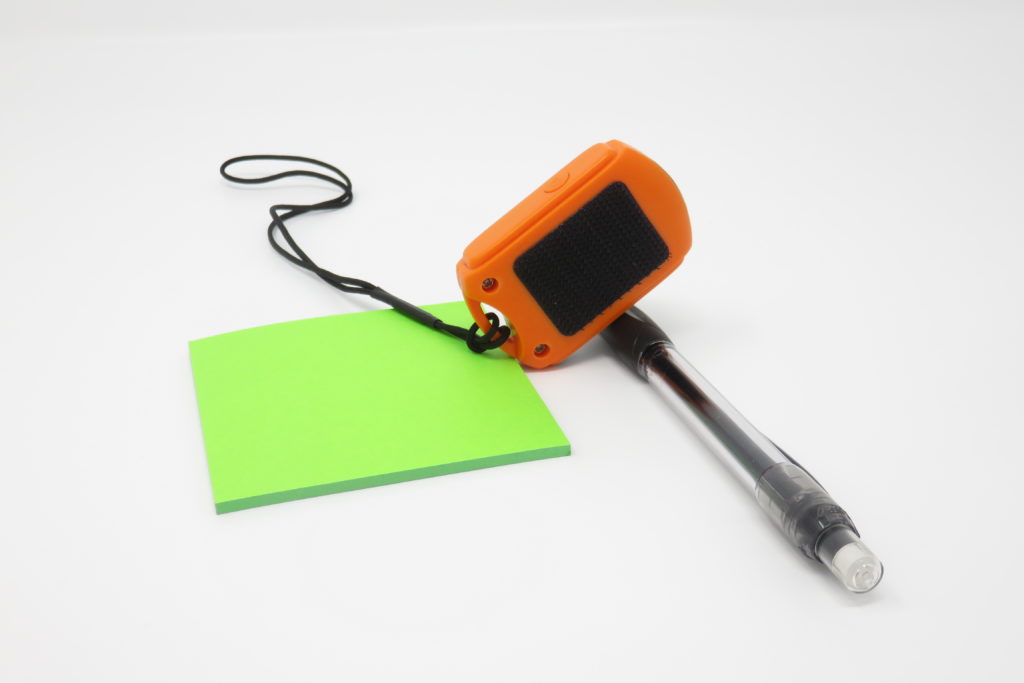
Changer la position : Placez-le à 45° avec le bouton et la grille vers le haut .
Ne pas bouger, et attendre la validation.
ETAPE 9
Changer la position : Placez-le à 45° avec le bouton et la poignée vers le haut.
Ne pas bouger, et attendre la validation.
ETAPE 10 : répétéz les ETAPE 1 à 9
Lorsque ces étapes on été effectuées, recommencer de nouveau pour la procédure de validation.
Enfin, vous serez informé du succès de la calibration. Bons vols !